Use Case 1: Use Condens highlights in a Miro board
Do you want to include user quotes from your research project in a remote workshop? Or do you want to bring highlights to an online meeting with stakeholders that are familiar with Miro? You can easily import them as sticky notes.
Import highlight quotes as sticky notes
In Condens, select the user quotes you want to bring to Miro.
Click on
 to export the data either as CSV or Excel file.
Open the file and copy the relevant cells with
 / +
/ +
Open Miro and paste the cells to your board with
/ + . Each cell will be placed on one sticky note.
Use Case 2: Bring Miro boards to Condens
The Miro integration makes it easy to reference and embed the data from Miro boards, which you might be using for brainstorming workshops, affinity mappins, etc, in Condens Artifacts and more.
By embedding Miro boards in Condens, you will only be able to view the boards but not edit them.

Search results in Condens don’t include embedded Miro boards.
Follow these steps to embed a live Miro board in any Artifact, Session or Project description:
In Miro
Open the Miro board page.
Click Share in the toolbar.
Under the Invite tab, go to Anyone with the link, and choose View.
If the board is only shared with members of your organization, they must be logged in to view the embed.
Click Copy board link.
In Condens
Select Embed Website or app and search for Miro:
In any editor (eg. in a Session, text Artifact, Project description, etc.) use the
 next to an empty line or type ‘/’ and search for Miro or select Embed website or app.
In any Whiteboard Artifact, click (...) the left menu bar, search for Miro or select Embed website or app and place it on the Whiteboard.
Paste the link in the respective field on the Miro element.
You can find more details on how to retrieve the link to Miro boards here.
Use Case 3: Bring Miro observation notes to a Condens Session
Is your team familiar with Miro and it's common practice to take notes from research sessions or for brainstormings there? You can bring all Miro notes to Condens in the structure you need. The notes from e.g. mindmaps, clustered sticky notes or other Miro board elements can be brought to Condens either as a list containing all notes or as structured single elements. Here’s how to go about this:
Copy notes compiled as a list
In Miro, select the notes that you want to bring to Condens.
Export the data by clicking on Export to CSV (Excel).
Open the new file.
Copy the relevant cells with
/ +Open Condens and paste the copied cells to your research Notes section
/ + . Each cell is placed in a paragraph.
Import notes as single sections
Select the notes in Miro that you want to bring to Condens.
Export the data by clicking on Export to CSV (Excel).
Open Condens, navigate to your research project and click on
 to bulk-import data.
Select your file created from Miro.
Define how you want to import the data, either by naming different sections, defining data types, or excluding fields. You can find more information on how to define fields for CSV-Import here.
Click
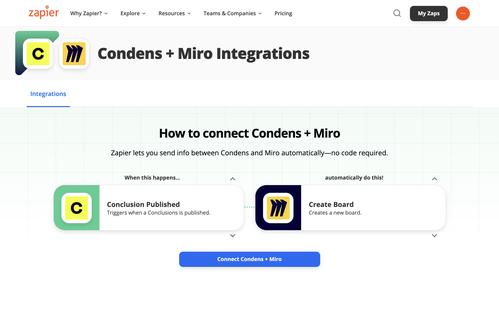
Use Case 4: Automate steps between Miro and Condens with Zapier
Both Condens and Miro provide a Zapier integration which enables you to set up automations between the two. This way you can send data from Miro to Condens or the other way around automatically based on certain events (also called triggers). Please note that this requires a Zapier account and may require a paid plan for Zapier. Here's how you can connect the tools:
Connect your Condens and your Miro account to your Zapier account. Follow our step-to-step Zapier set-up guide for this.
Start creating your own Zap (your tool automation) on Zapier: Condens and Miro connections on Zapier