Stage 1: Admin setup in Condens
A Condens Admin needs to:
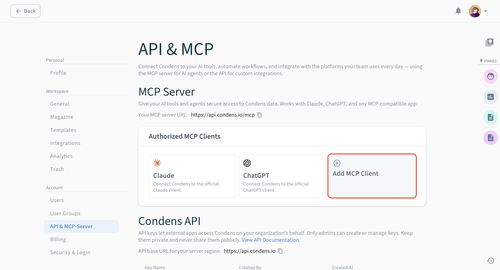
In Condens, go to Settings > Account > API & MCP Server and click Add MCP Client.
Configure the MCP client:
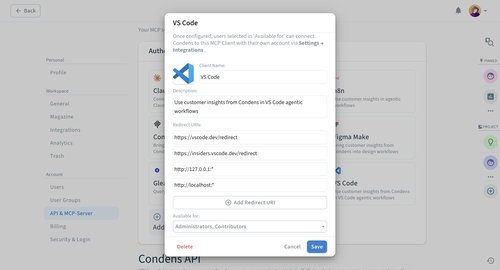
Add a Client name (for example, VS Code) and Description, and upload a logo.
Add the following eight redirect URIs:
https://vscode.dev/redirecthttps://insiders.vscode.dev/redirecthttp://127.0.0.1:*http://127.0.0.1/http://127.0.0.1http://localhost:*http://localhost/http://localhost
Under Available for, select which users, roles, or user groups should have access. Once configured, these users will be able to view this MCP client in their own account in Settings > Integrations. They will still need to authorize it individually to enable it on user-level.
Click Create.
Stage 2: User setup in VS Code
Before you start, make sure any previous Condens MCP configurations are cleared. These are usually found in an mcp.json file. If a setup was attempted before, also run the following to remove any previously registered authentication providers:
Open the Command Palette (Cmd / Ctrl + Shift + P) and search for:
Authentication: Remove Dynamic Authentication ProvidersThen follow these steps:
Open the Command Palette again and search for
MCP: Add Server:Choose HTTP as the server type
Enter your MCP Server URL; it's shown in Condens in Settings > Condens API & MCP Server > MCP
Set your preferred server ID
Set your preferred configuration target
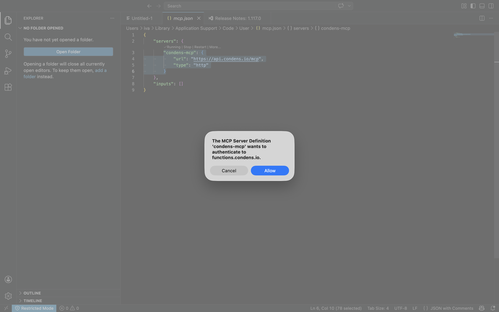
You will be prompted to authenticate via Condens. Click Continue to authorize the connection. You will be redirected to a VS Code page and then back to VS Code.
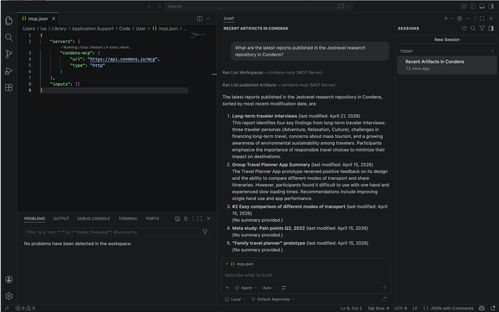
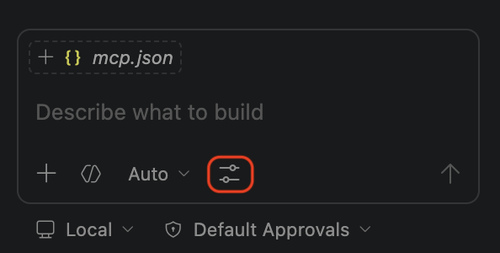
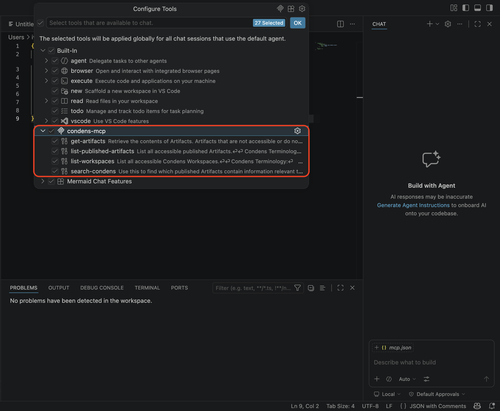
In VS Code Chat, click Configure Tools.
Next, enable all tools exposed by the Condens MCP.
Condens is now connected. You can start querying your research directly in VS Code Chat.